
How to Take a Client Photo From Facesheet
Open the Facesheet on the client management form.
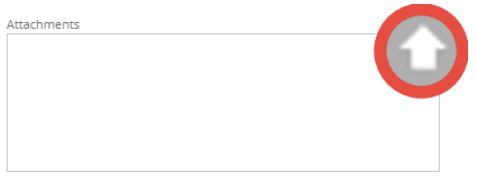
- Hover the cursor in the top right of the attachment box and click the upload arrow.
- Click the Take Photo button
- When a new client is added, the new photo will become the primary photo for that client.
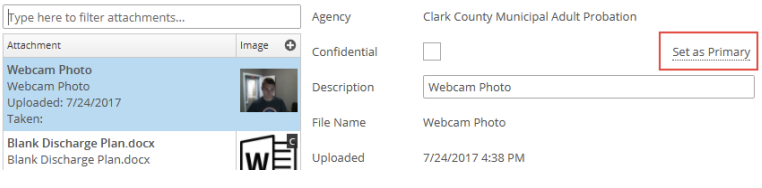
Note: To make another photo the primary photo, open the Attachments section, select the photo, and check “Set as Primary.”
- If the image is of a Body Marking, specify by checking the “Body Marking” box.
Note: If an image is a Body Marking, it will be stored in the Body Marking tab in the Attachment window.